After successfully creating a website, you want to publish your website to the internet. In this blog, we are going to learn how to publish or upload a website to the internet in 6 easy steps.
- Buy a domain name
- Buy a web hosting service
- Choose a website upload method
- Upload your website files
- Import database for your website
- Check the website
1. Buy a domain name
 |
| Photo by Markus Winkler from Pexels |
2. Buy a web hosting service
 |
| Photo by panumas nikhomkhai from Pexels |
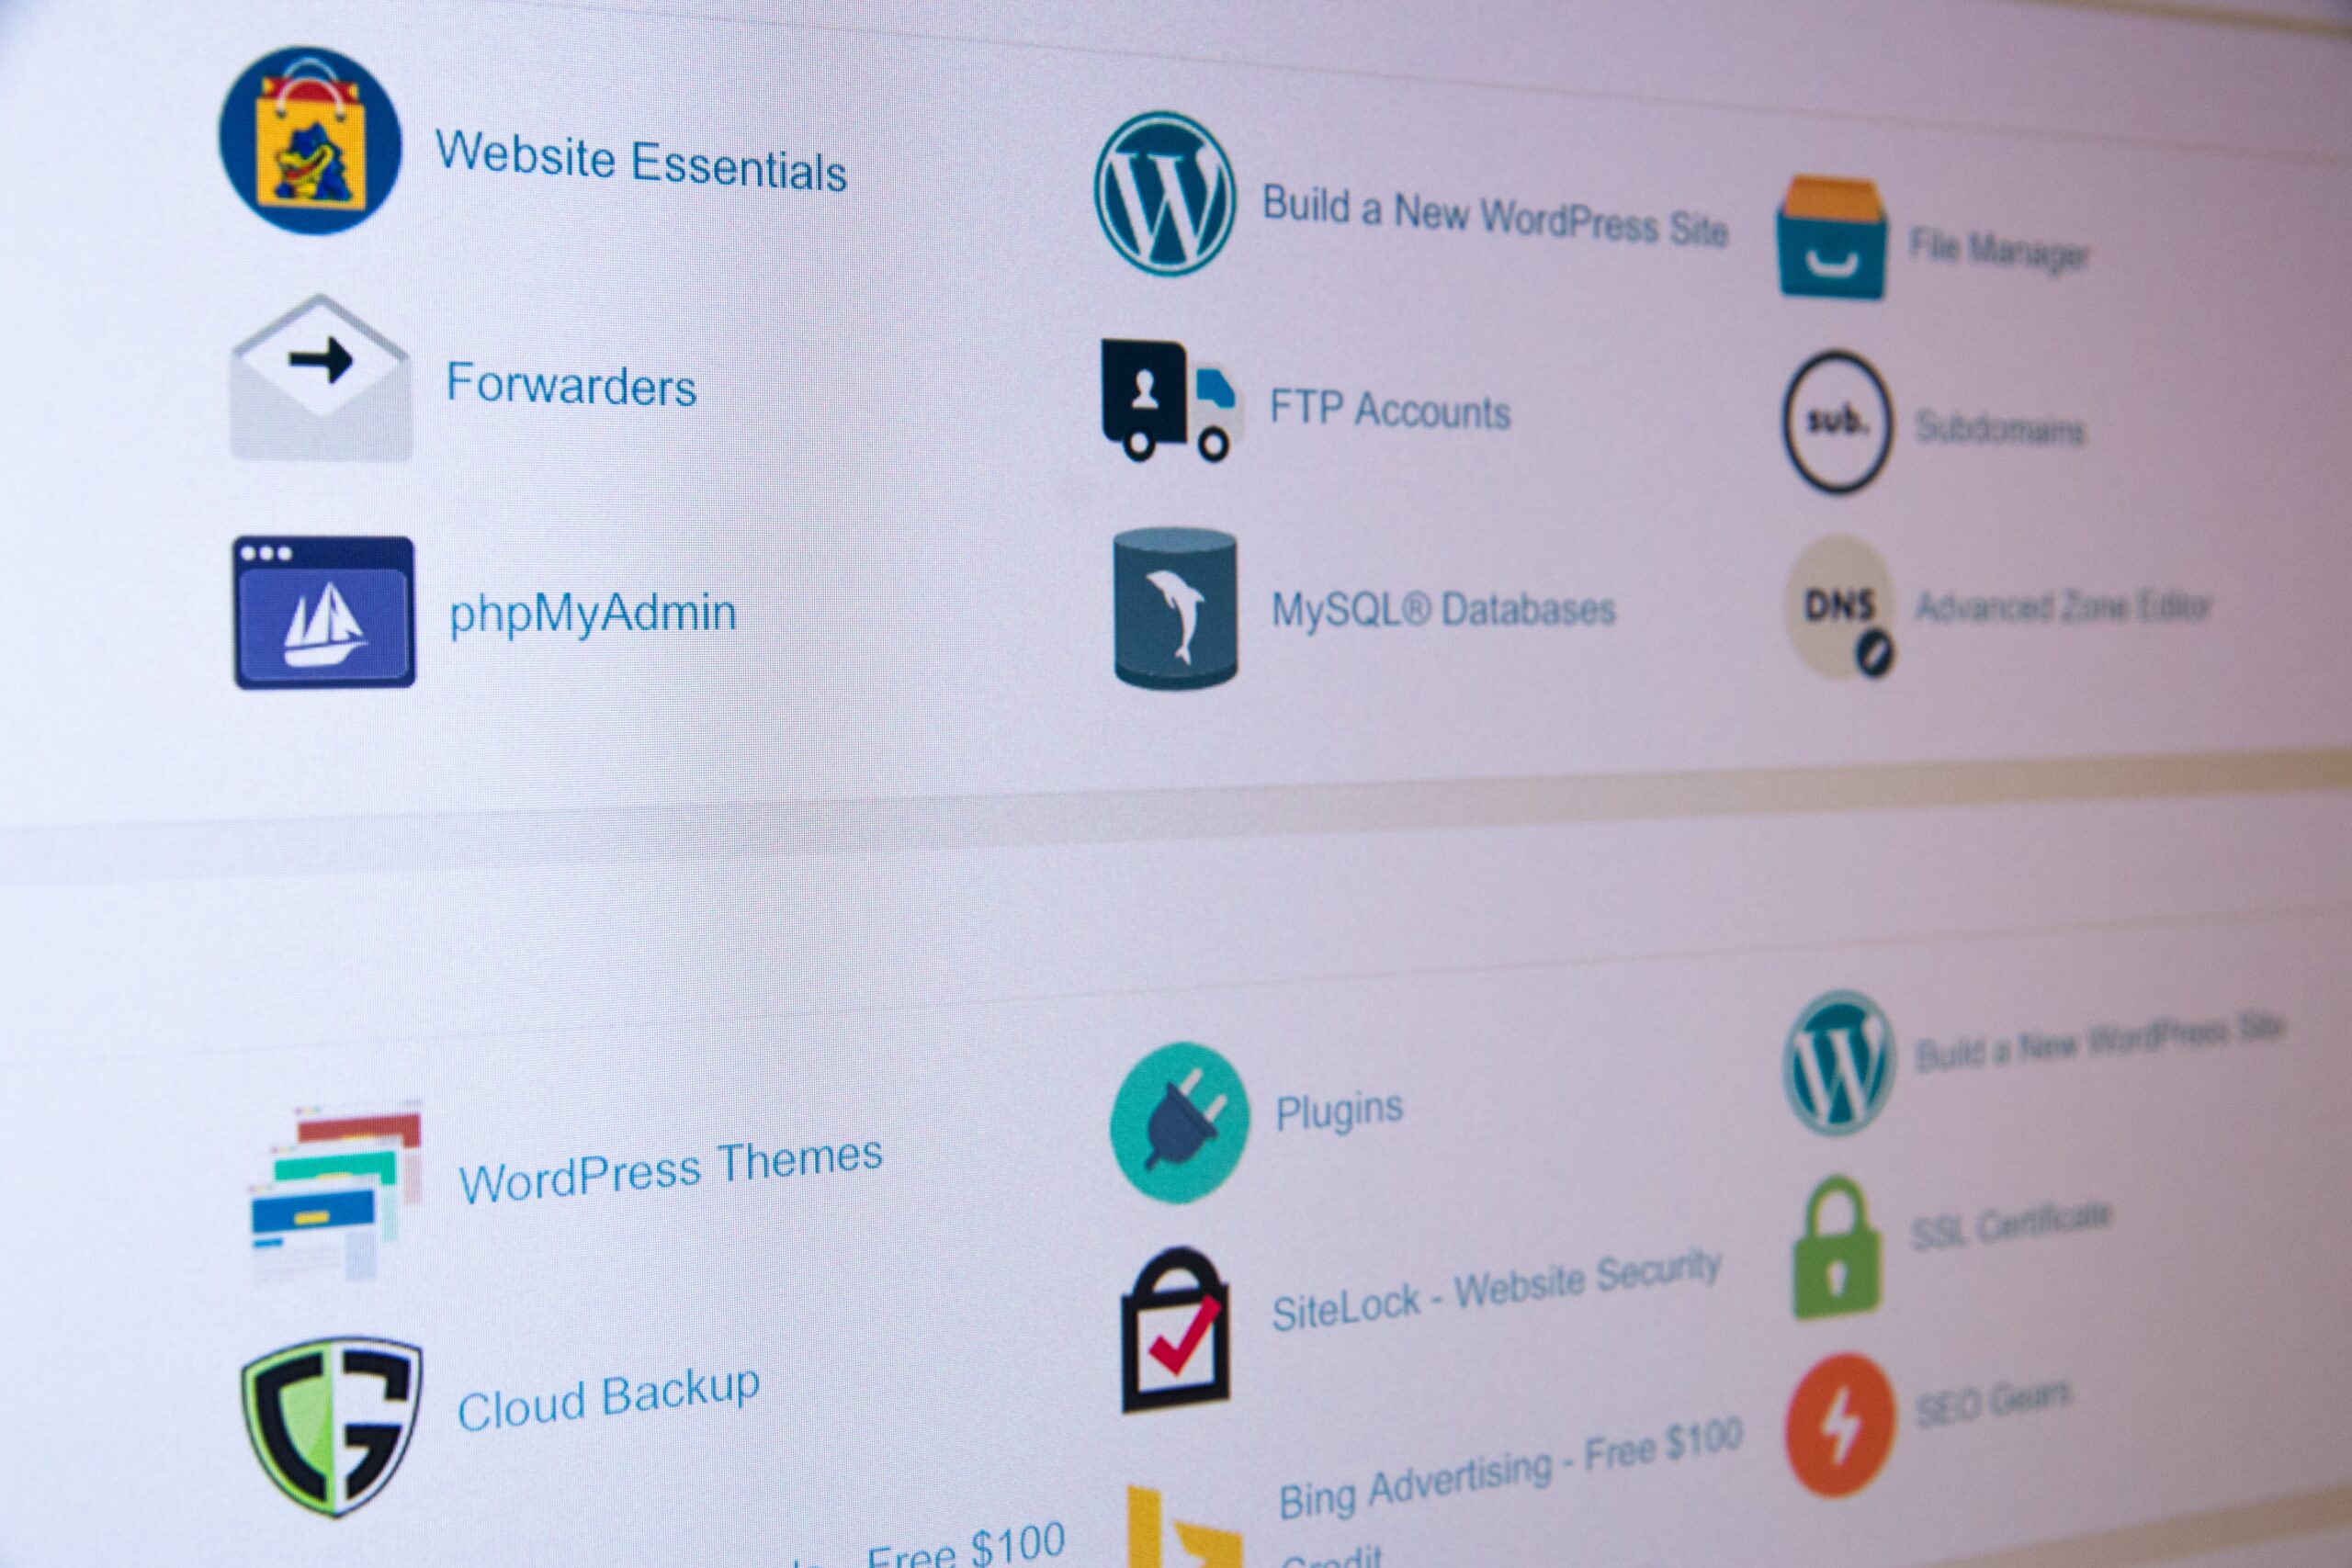
3. Choose a website upload method
Now, you need to choose the website upload method to the internet. There are many ways to upload website to the web server like File manager, FileZilla or any FTP application, WordPress Uploader if you are developing a WordPress site. Today, we are using File Manager as it is the most easiest option.
- Go To cPanel and click on file manager in the Files Section

- Go to public_html folder, This is the root folder where your website index is uploaded

4. Upload your website files
Its time for us to upload the website files to server. Make sure you publish all the files to the public_html or root folder based on your host as visitor will be redirected to this folder when they visit your site. To upload make a zip of the website files and use the upload button at the top of the page.

On clicking upload new page will open where you upload the zip file and in the public_html or root folder refresh to see the zip file. Now right click on the zip and click extract to extract all the files.

5. Upload database for your website

If your website also uses a database, you need to import it too.
- In the cPanel go to MySql datatbases and create a new database.
- Go to phpMyAdmin and import the database from import section
- Update the MySql databases details in your configuration file in your code
6. Check the website by visiting your domain
Once everything is done and domain is successfully pointed to your site. That’s it you can see your brand new website up and running.